A virtual try-on comparison gives a clearer answer than a saved product photo: which outfit shape, color, and mood actually suits the person in the frame? Start with one clean photo, then test a small set of intentional looks. The goal is not to make dozens of random swaps. It is to find the direction worth wearing, buying, or posting.
Set up a virtual try-on comparison that feels believable
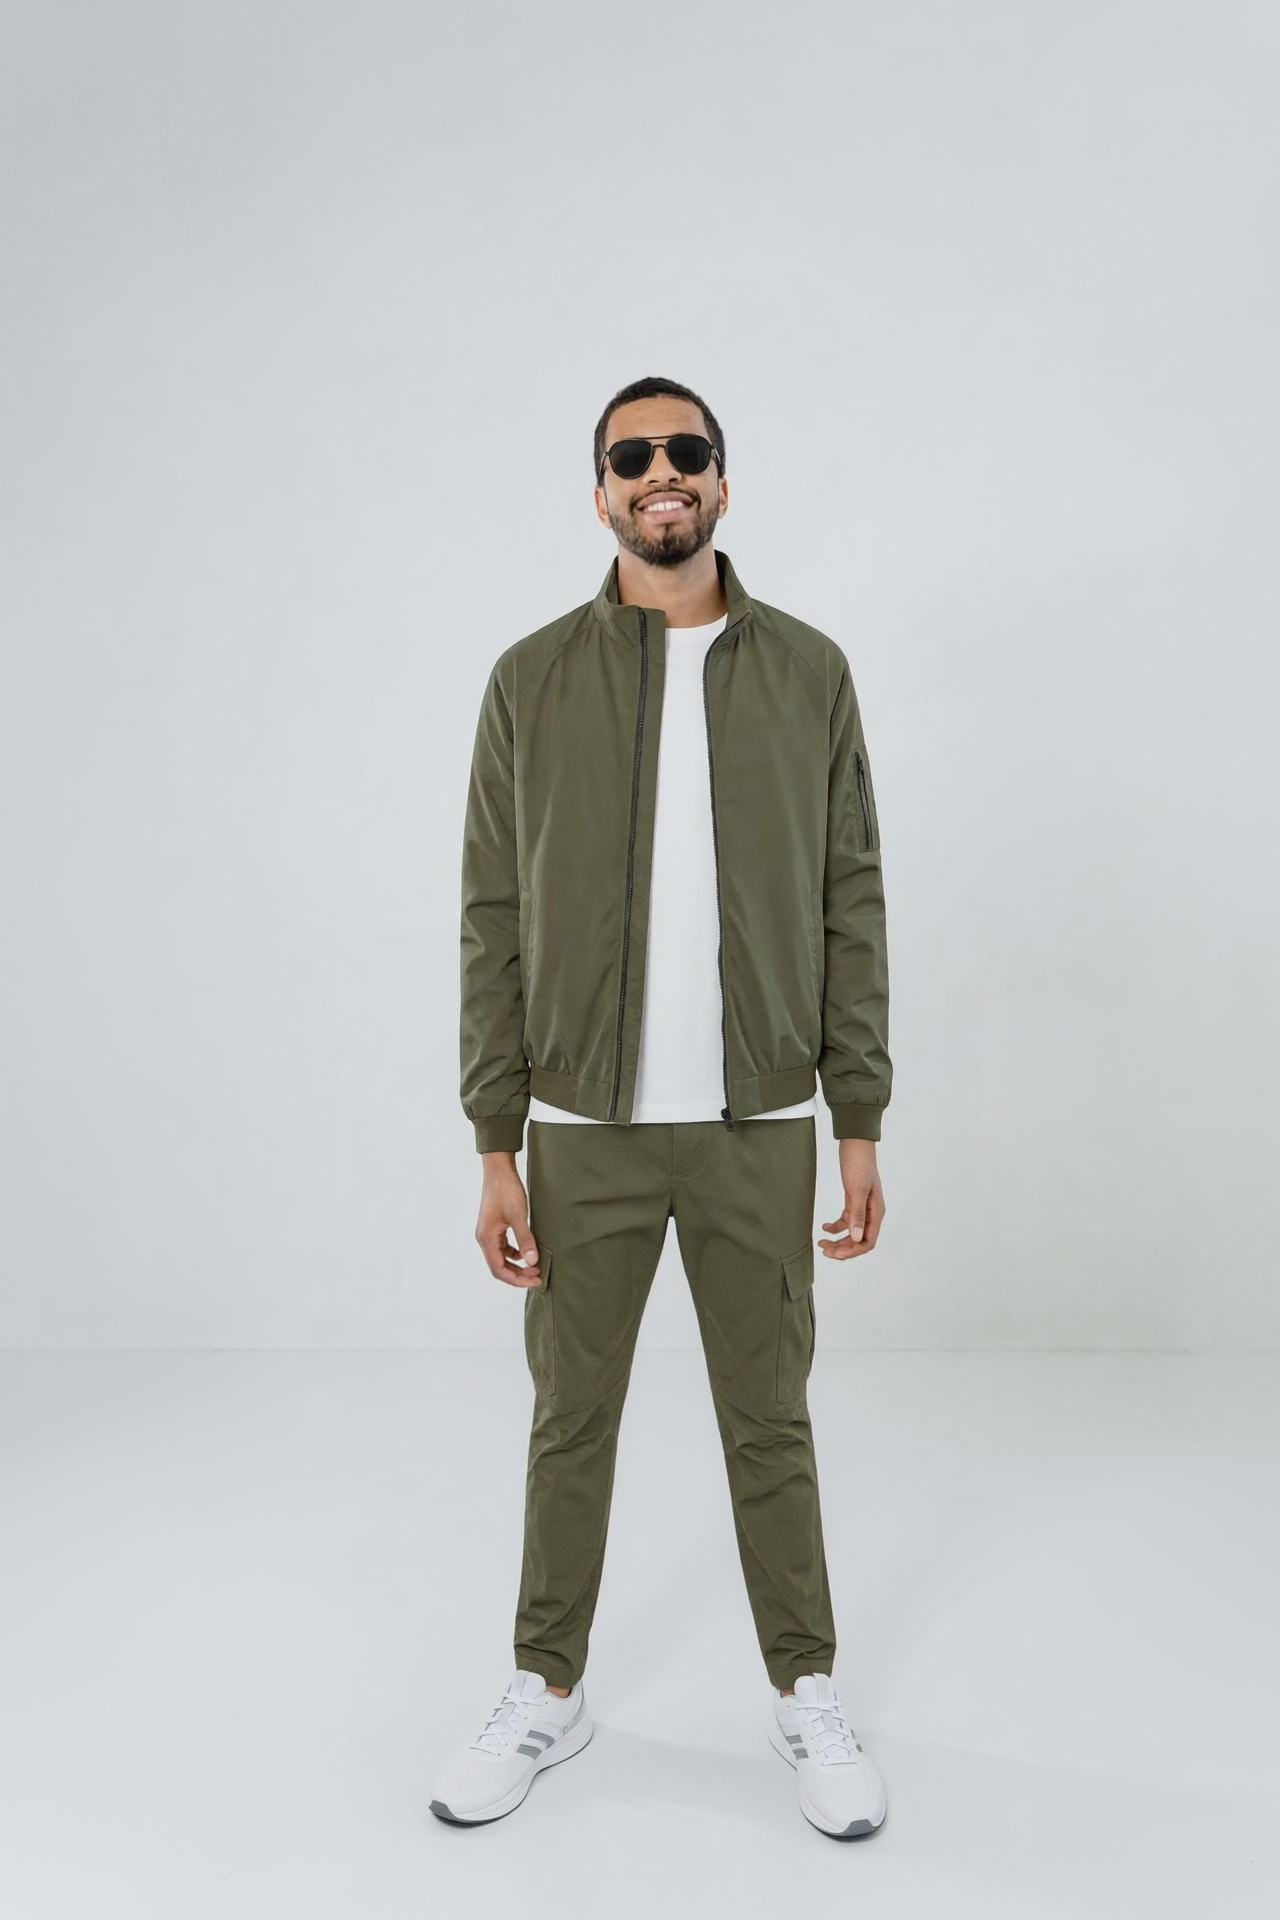
Use the same person photo for every result. A full-length image with even light, relaxed arms, and a simple background gives clothing more room to read. Google Shopping gives similar photo guidance for try-on tools: use a clear image of one person, keep hands visible, and avoid overly baggy starting clothes. Those details make it easier to judge proportion rather than fight a strange pose. Read the Google Shopping photo guidance if the first attempt looks distorted.
Pick one occasion before writing any prompt. A work presentation, a Saturday coffee run, and a birthday dinner need different answers. Keep the pose, hairstyle, framing, and setting fixed. Change only the clothing direction. That turns the images into a fair comparison.
For each prompt, name the garment type, fit, fabric feeling, color palette, footwear, and occasion. Add “keep the same person, face, pose, and camera angle” to protect what matters. Avoid vague words such as “cute outfit.” They invite a result that looks good but tells you nothing useful.
Look 1: tailored and polished
The first look tests structure. A blazer, straight-leg trouser, and clean shoe can make an outfit feel more composed without looking formal. This is a useful option for office days, interviews, dinner reservations, or creator photos that need a sharper finish.
Try this prompt: “Keep the same person, face, pose, and camera angle. Replace the outfit with a charcoal cropped blazer, ivory fitted tee, high-waisted black straight-leg trousers, and pointed black slingback flats. Soft daylight, realistic fabric texture, polished city lunch look.”
Then inspect three things. First, look at the shoulder line. A blazer should sit at the shoulder, not float beyond it. Next, check where the trouser hem lands. A cropped ankle length changes the whole proportion. Last, look at the shoe. A pointed flat adds length, while a chunky shoe can pull the eye down. If the result feels too strict, keep the trouser shape and switch the blazer for a soft cardigan.
Look 2: relaxed weekend layers
Now test the opposite effect. Relaxed layers help answer whether the person looks better in soft volume, a casual silhouette, or a lower-contrast palette. This direction works for travel outfits, campus days, market content, or a wardrobe reset when jeans and a tee feel flat.
Use a prompt such as: “Keep the same person, face, pose, and camera angle. Style a relaxed oatmeal knit, light-wash wide-leg jeans, white low-profile sneakers, and a tan crossbody bag. Natural street background, soft morning light, realistic denim and knit texture.”
Production tip: ask for only one outer layer at a time. A knit, coat, scarf, and bag can hide the shape you are trying to judge. If the jeans feel too wide, change only the leg shape to a straight fit and rerun it. That one-variable method reveals whether the problem is volume, waist height, or color contrast.
Look 3: a color-led statement
A third option should push the comparison a little. This is where a saturated jacket, a printed skirt, or a brighter shoe earns its place. It may not become the daily uniform, but it can show which colors wake up a neutral wardrobe and which ones overpower the photo.
Try: “Keep the same person, face, pose, and camera angle. Create a deep cherry red leather jacket over a black ribbed midi dress with sheer black tights and ankle boots. Evening sidewalk light, editorial but wearable, realistic leather grain.”
Take a screenshot of the three results side by side. Look first at the face, not the garment. The best color often makes skin tone and eyes look more awake. Then check the waist, hem, and shoe together. A strong jacket can work when the rest of the outfit stays simple. For a party invite, this look can become the starting point. For a product launch shoot, it can also help a creator choose a thumbnail outfit that reads at a glance.
How to choose the winning look
Score every virtual try-on comparison on four practical questions: Does the shape suit the body? Does the color support the face? Does it fit the actual occasion? Can the key pieces be recreated with what is already in the closet? A look that wins all four beats the most dramatic image.
| What to compare | Quick check | Best use case |
|---|---|---|
| Silhouette | Check shoulder, waist, and hem proportions | Buying jeans, dresses, or blazers |
| Color | Compare it against the face and hair | Choosing a jacket or event outfit |
| Styling mood | Ask if it matches the planned setting | Content shoots and travel packing |
| Practicality | List the pieces needed to recreate it | Wardrobe planning before checkout |
Save the winner and one runner-up. The winner is the outfit to recreate now. The runner-up often becomes the useful wild card for a different mood or event. For more outfit directions to test, see 3 Virtual Try-On Looks Going Viral in 2026. A focused comparison turns outfit experimentation into a decision instead of another open tab.
Get this look in FashionKit
Try these effects on your own photos – free to start.