
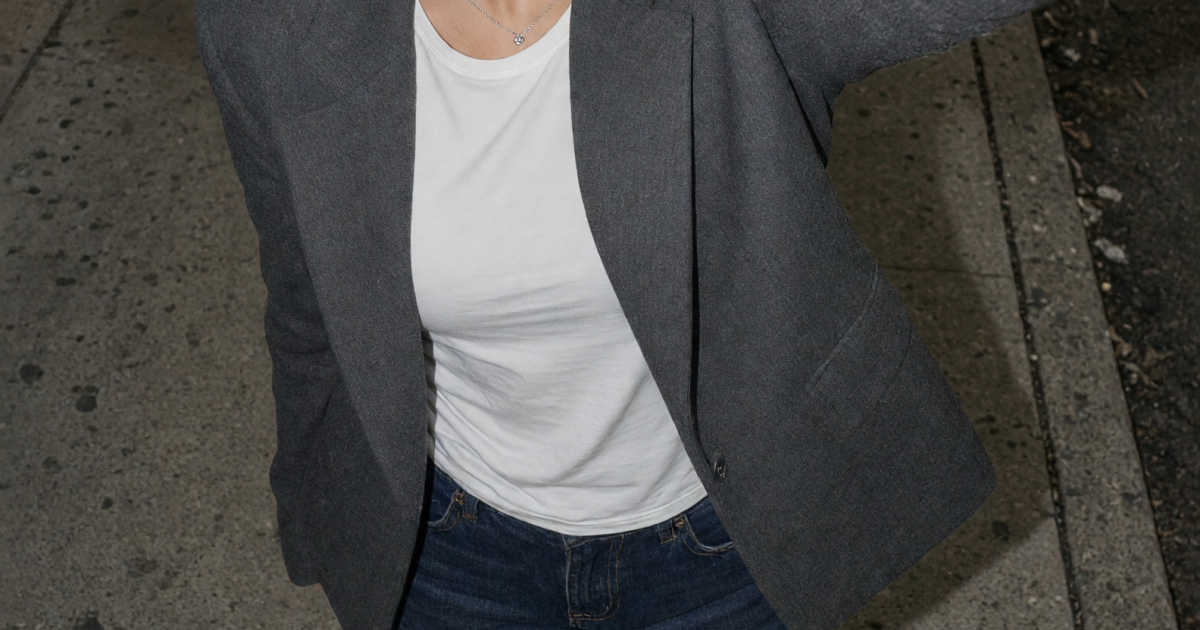
The inverted camera effect is the unpolished outfit-check trend turning front-camera weirdness into the point. Instead of a perfect mirror pose, the shot feels close, a little wide, and caught before the creator can correct it. That honest framing gives even a simple look more personality.
It fits the mood right now. September trend coverage is full of rawer, less polished formats, while creators keep using direct-camera reveals and flash to make a post feel immediate. For fashion, that means the clothes still lead, but the image does not look like a catalog.
In this post
- What makes the inverted camera effect work
- Four outfit directions to test
- How to get the framing right
- Common mistakes to skip
Why the inverted camera effect feels fresh
Front-camera photos have usually been the proof shot: quick, flat, and thrown away. This trend flips that. The slightly stretched perspective, flash glare, and accidental-looking composition become part of the styling. It reads like a friend caught the look on the way out, not like a planned campaign.
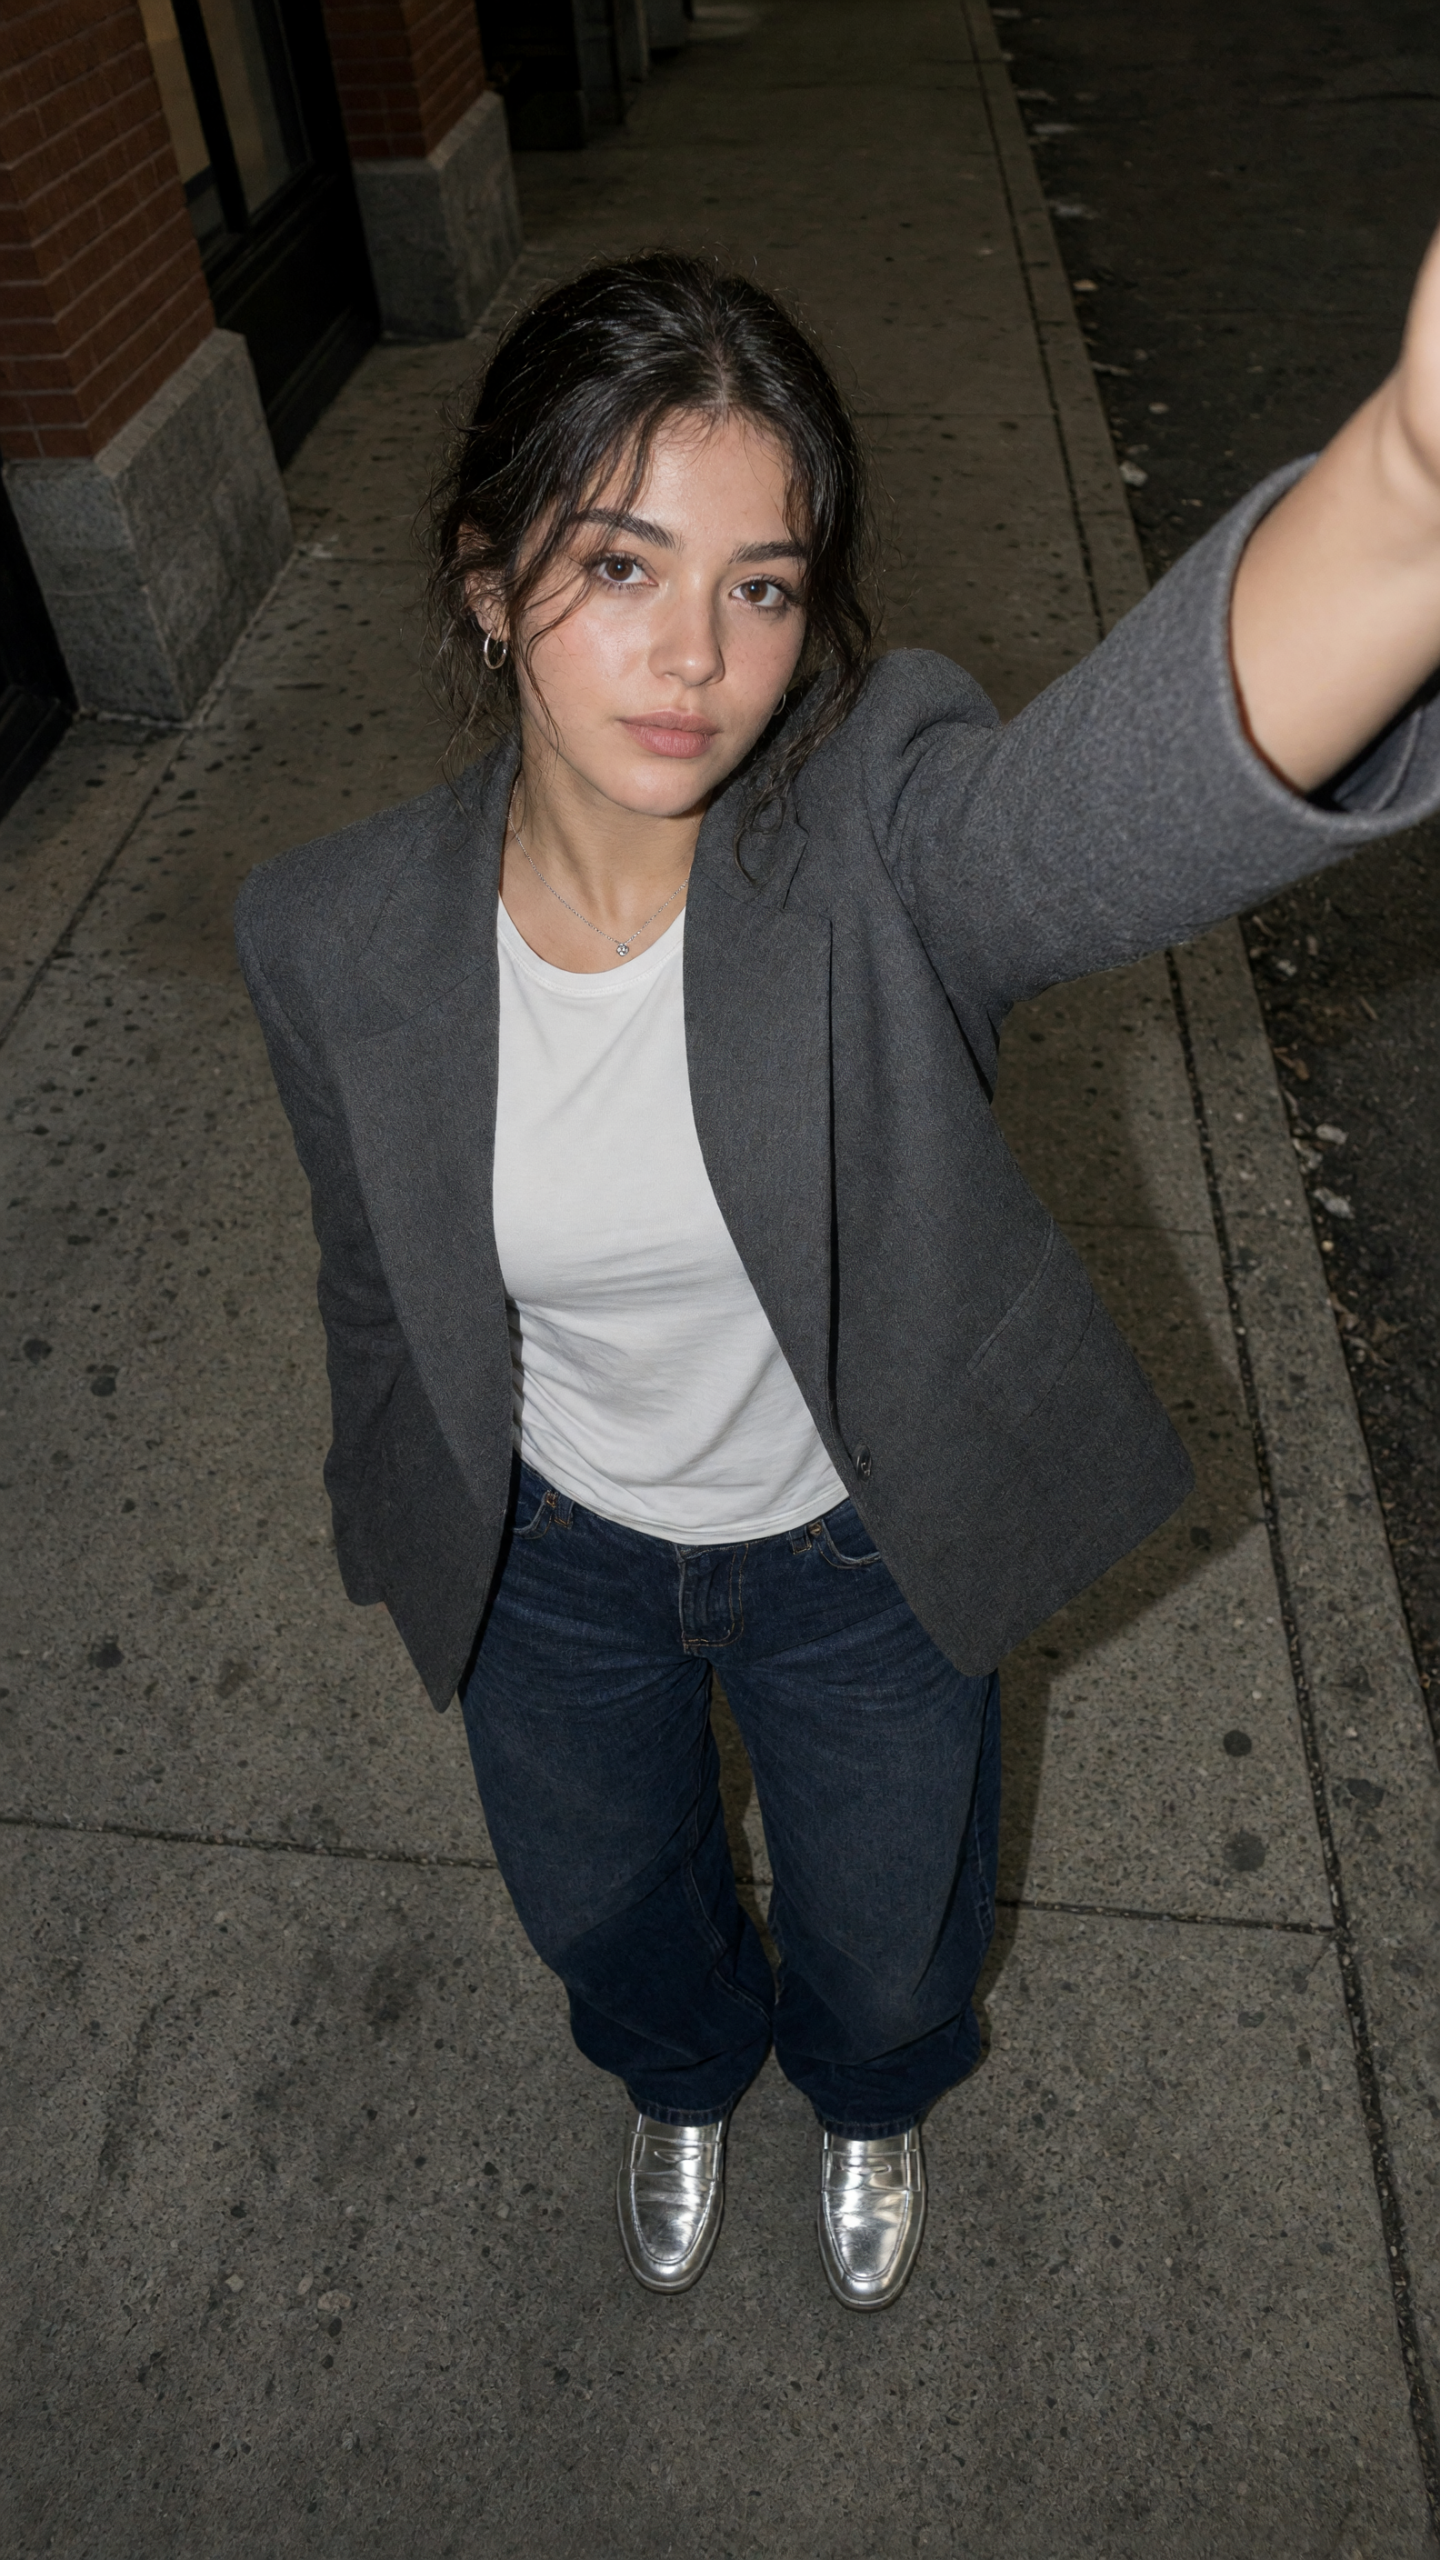
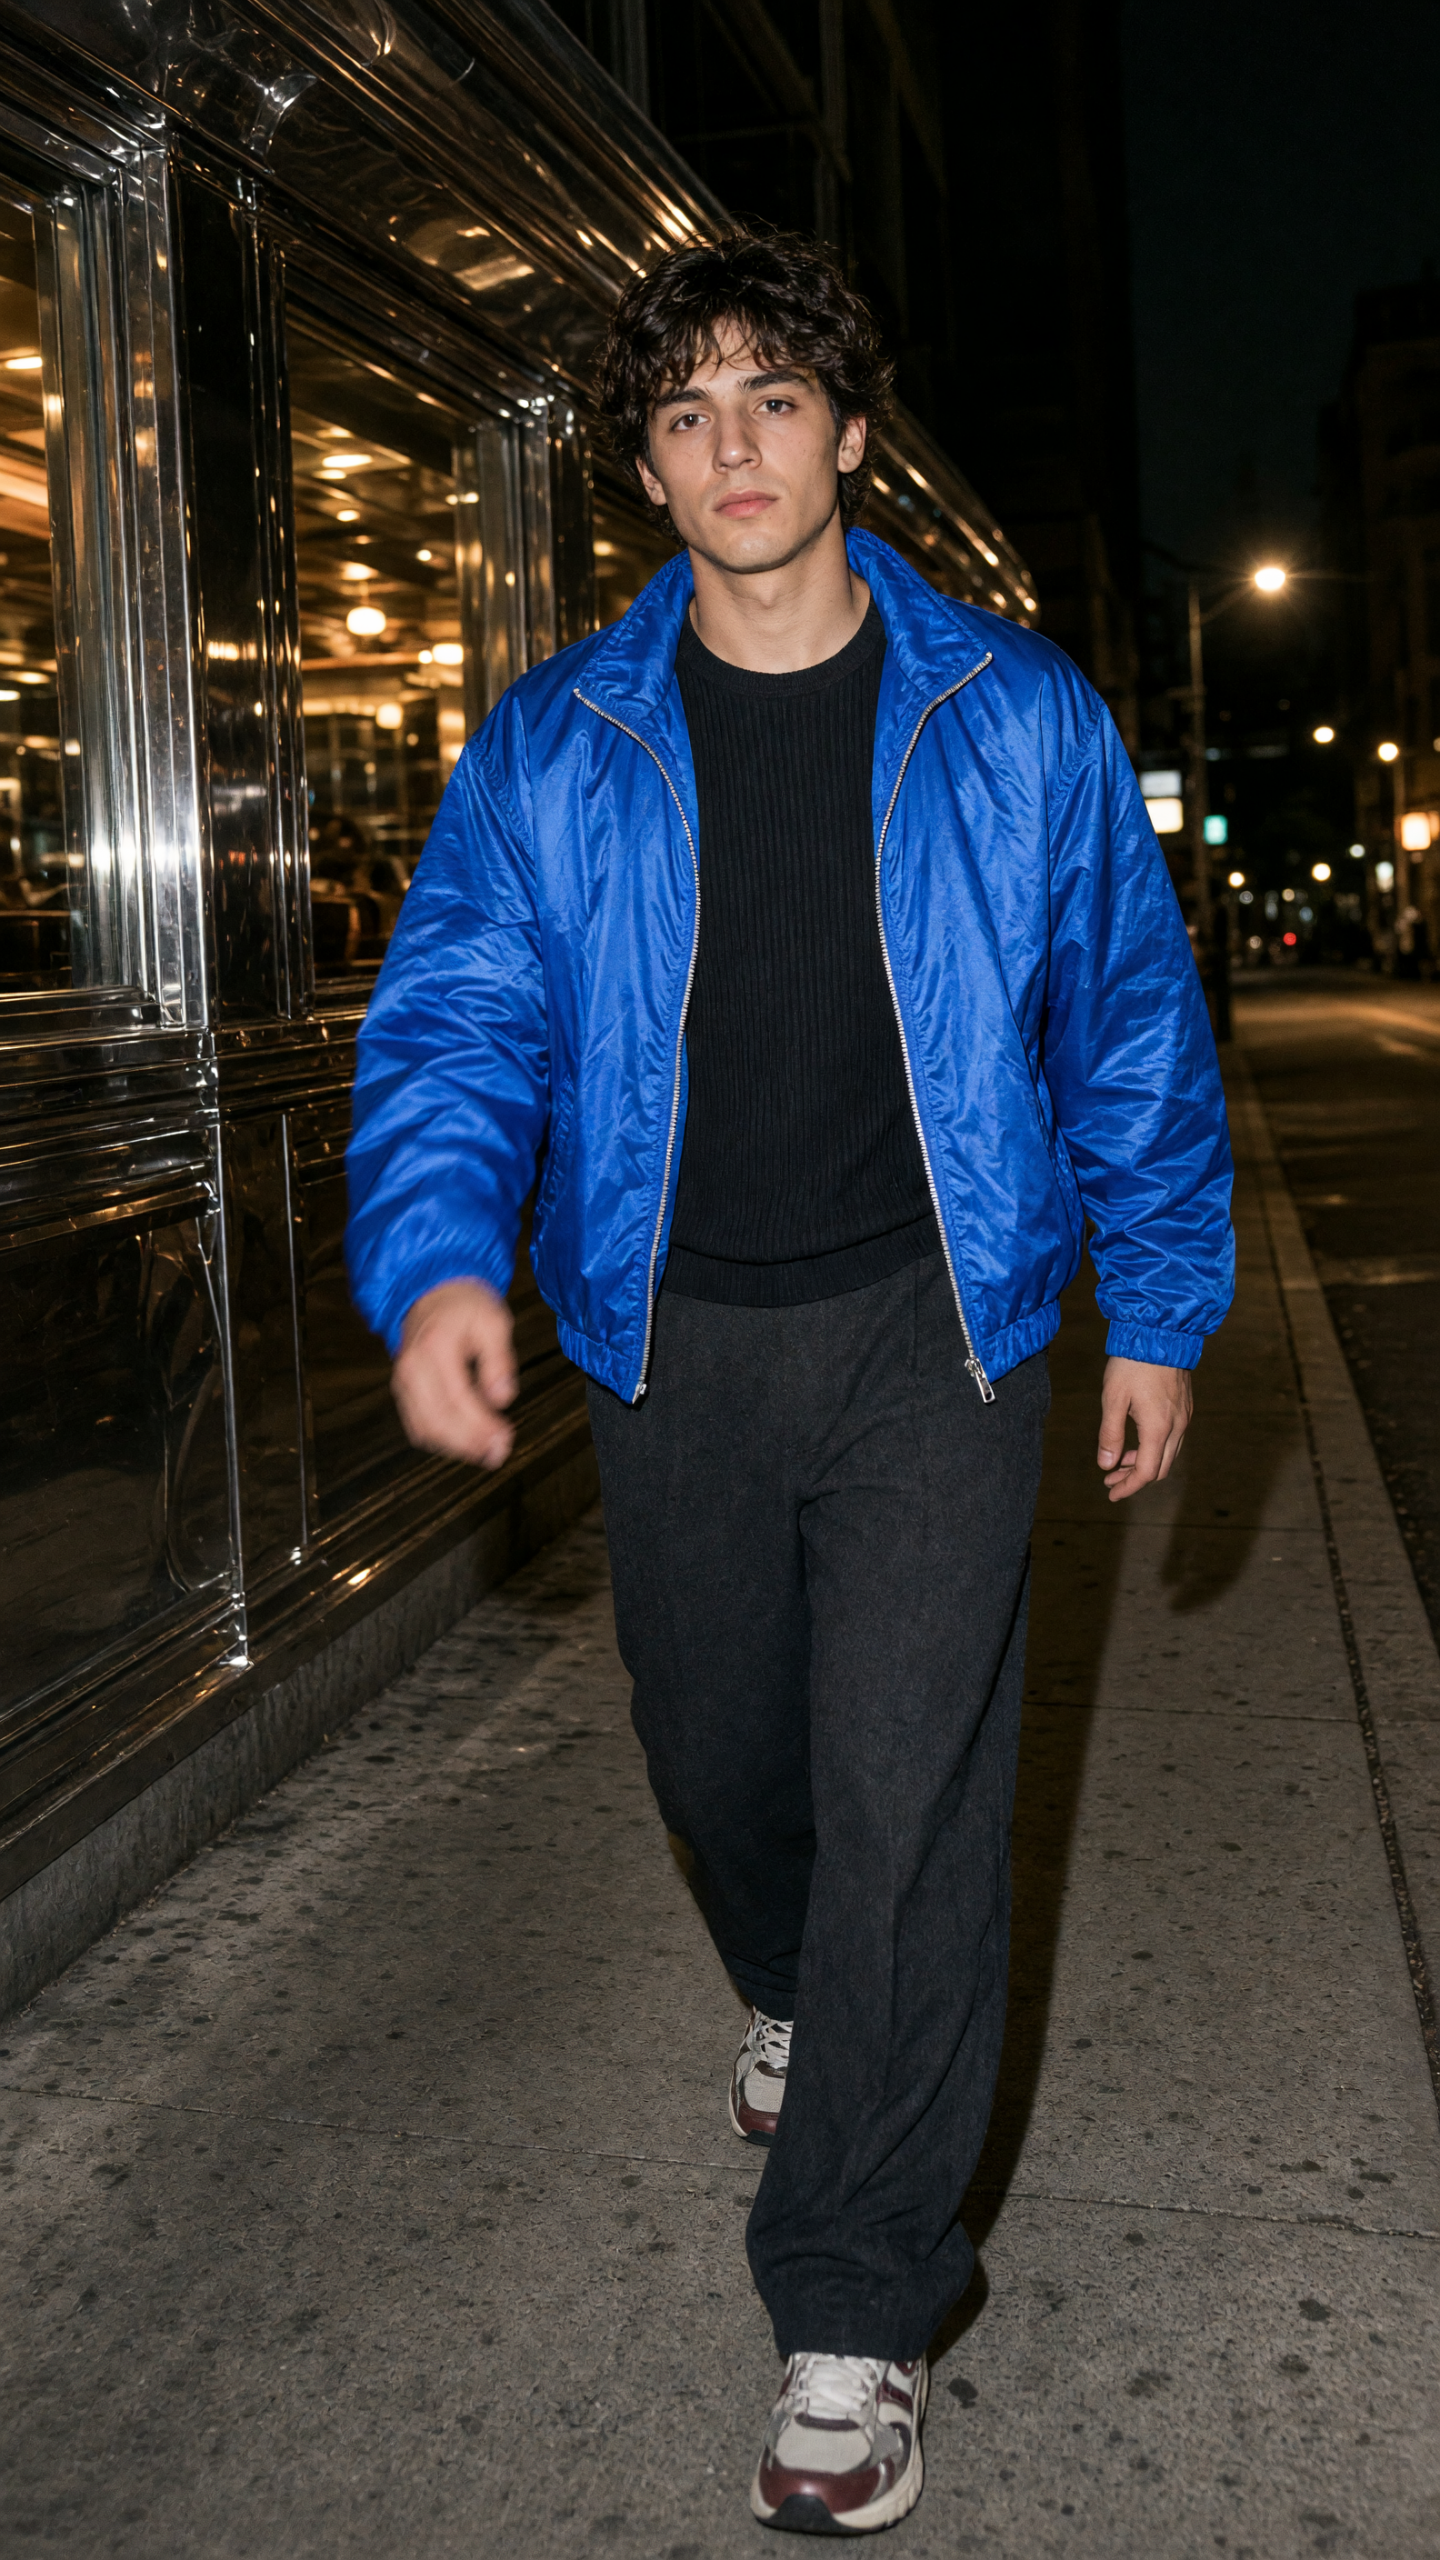
That makes it useful for an outfit you are still deciding on. A polished mirror photo can hide proportion. The inverted view shows how a blazer hangs, where a hem lands, and whether a shoe actually grounds the outfit. It is a better reality check.
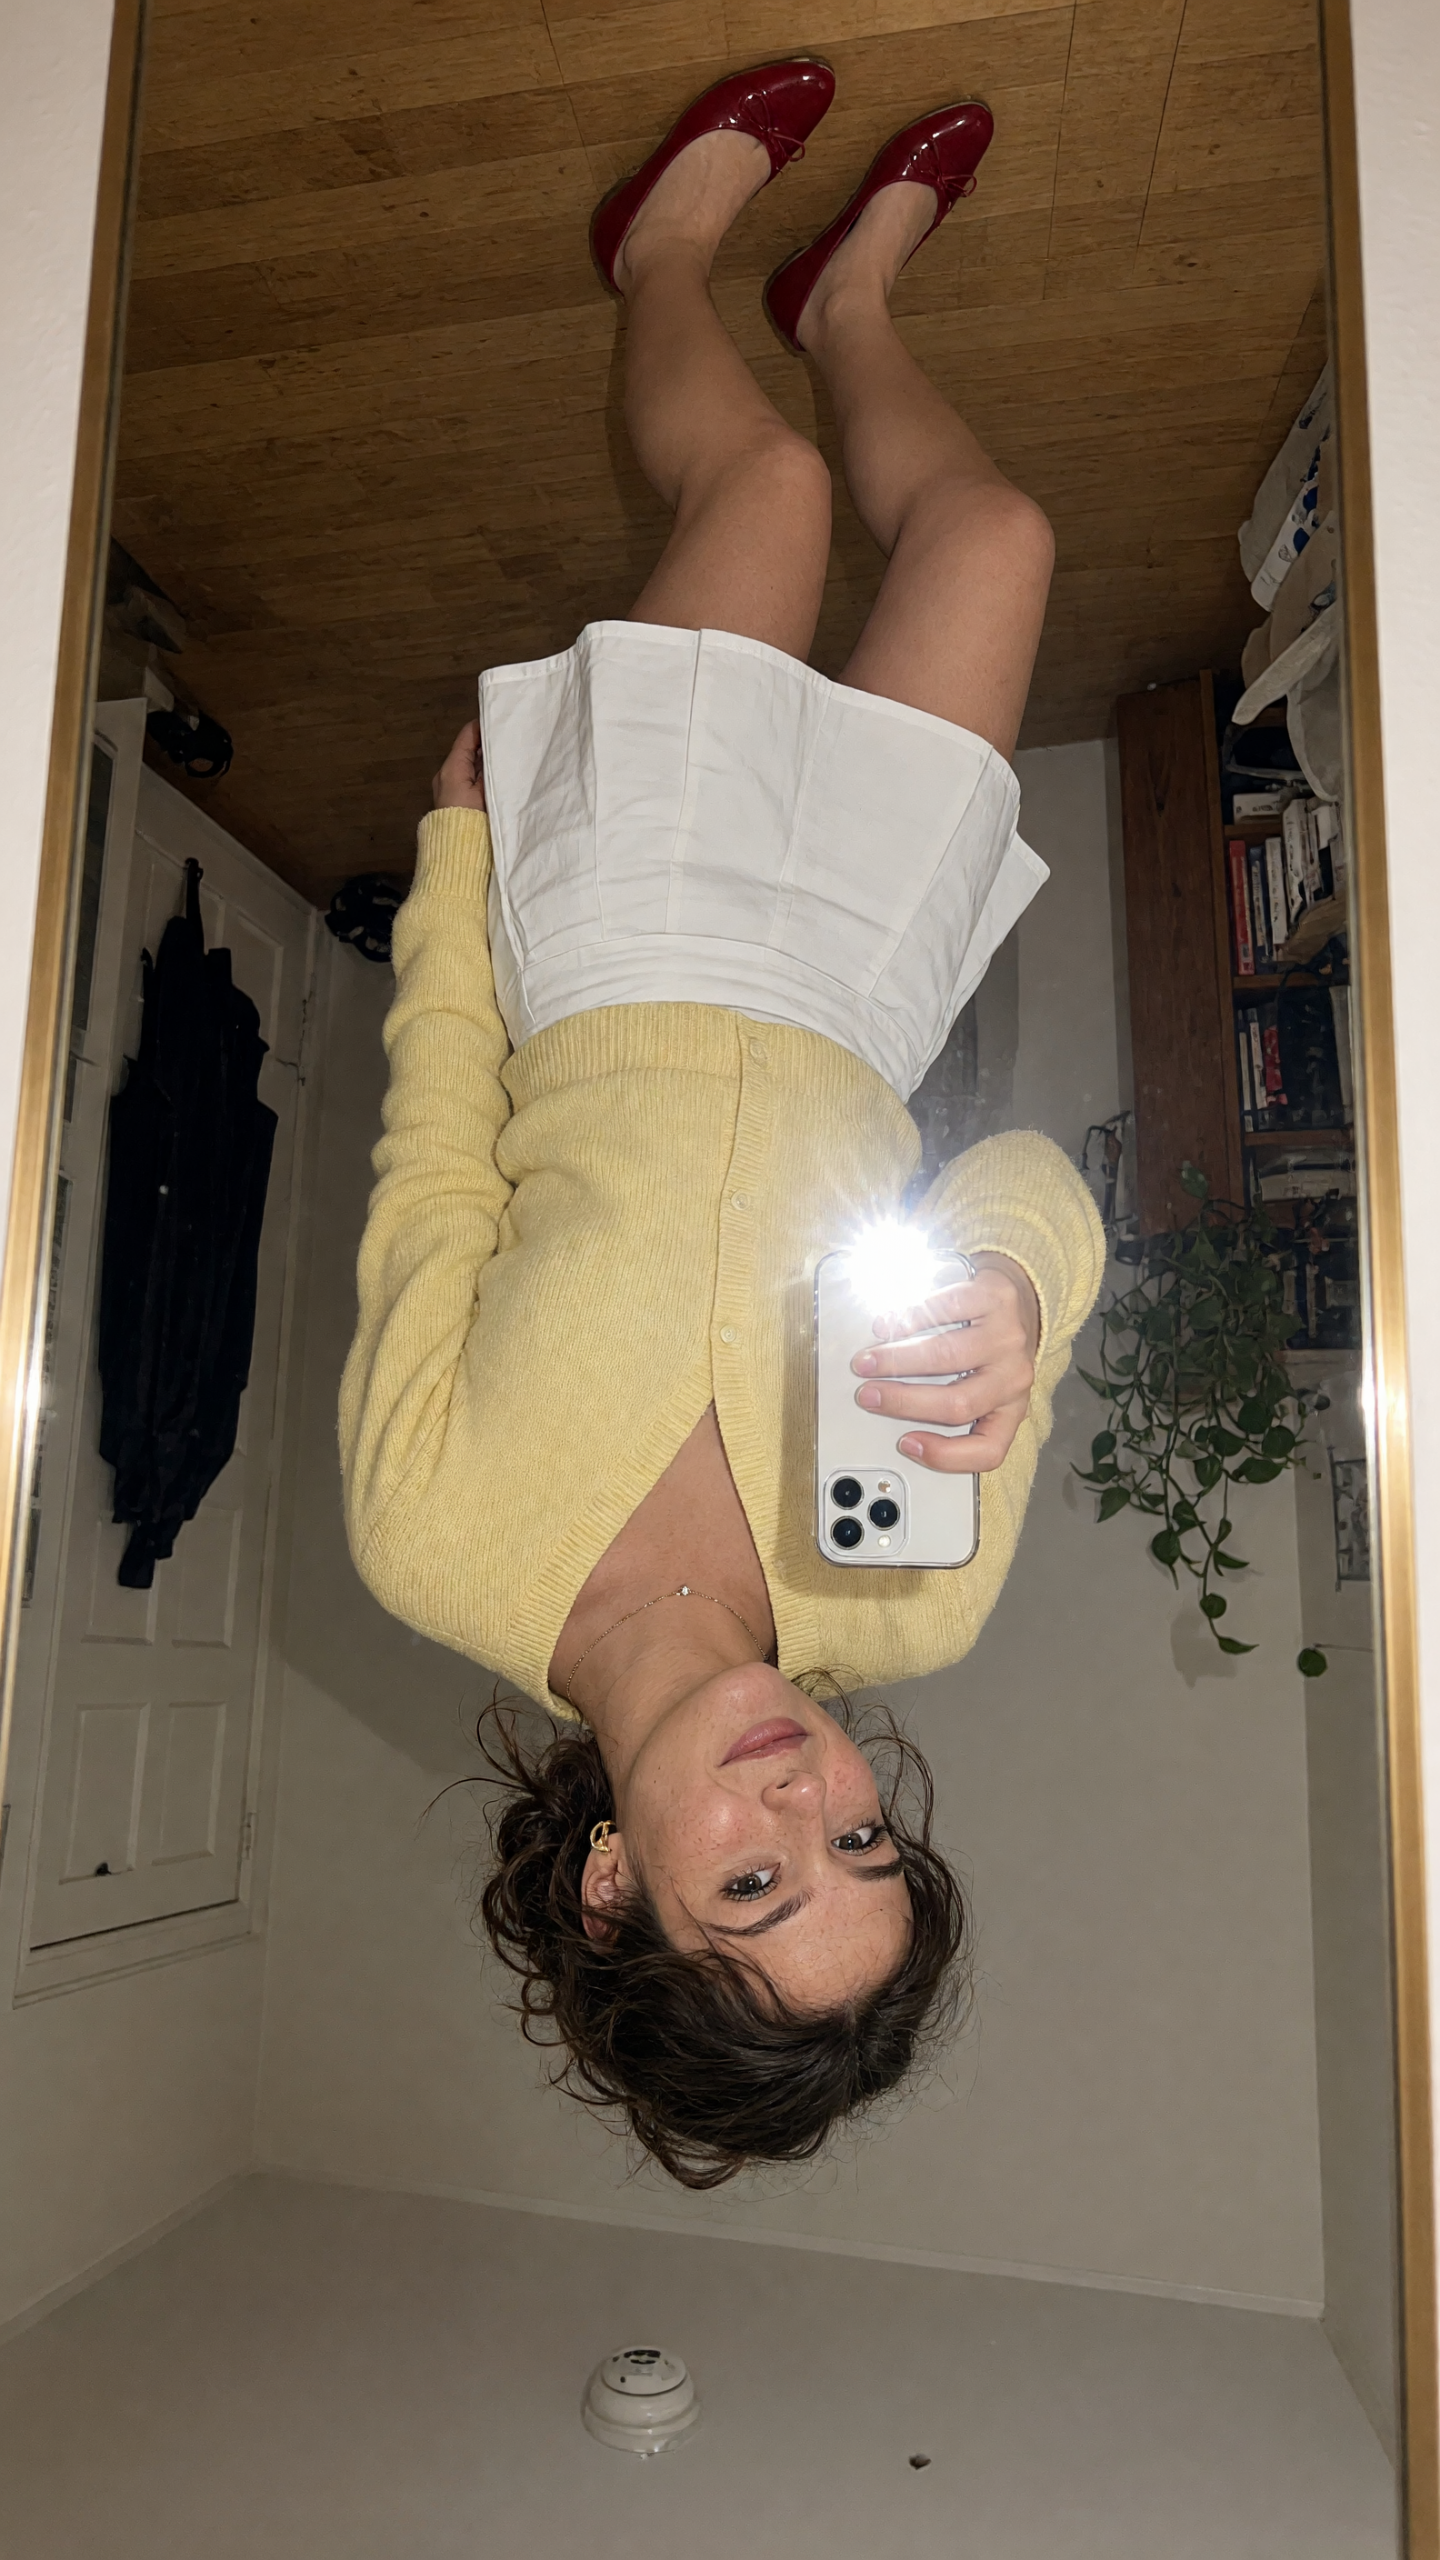
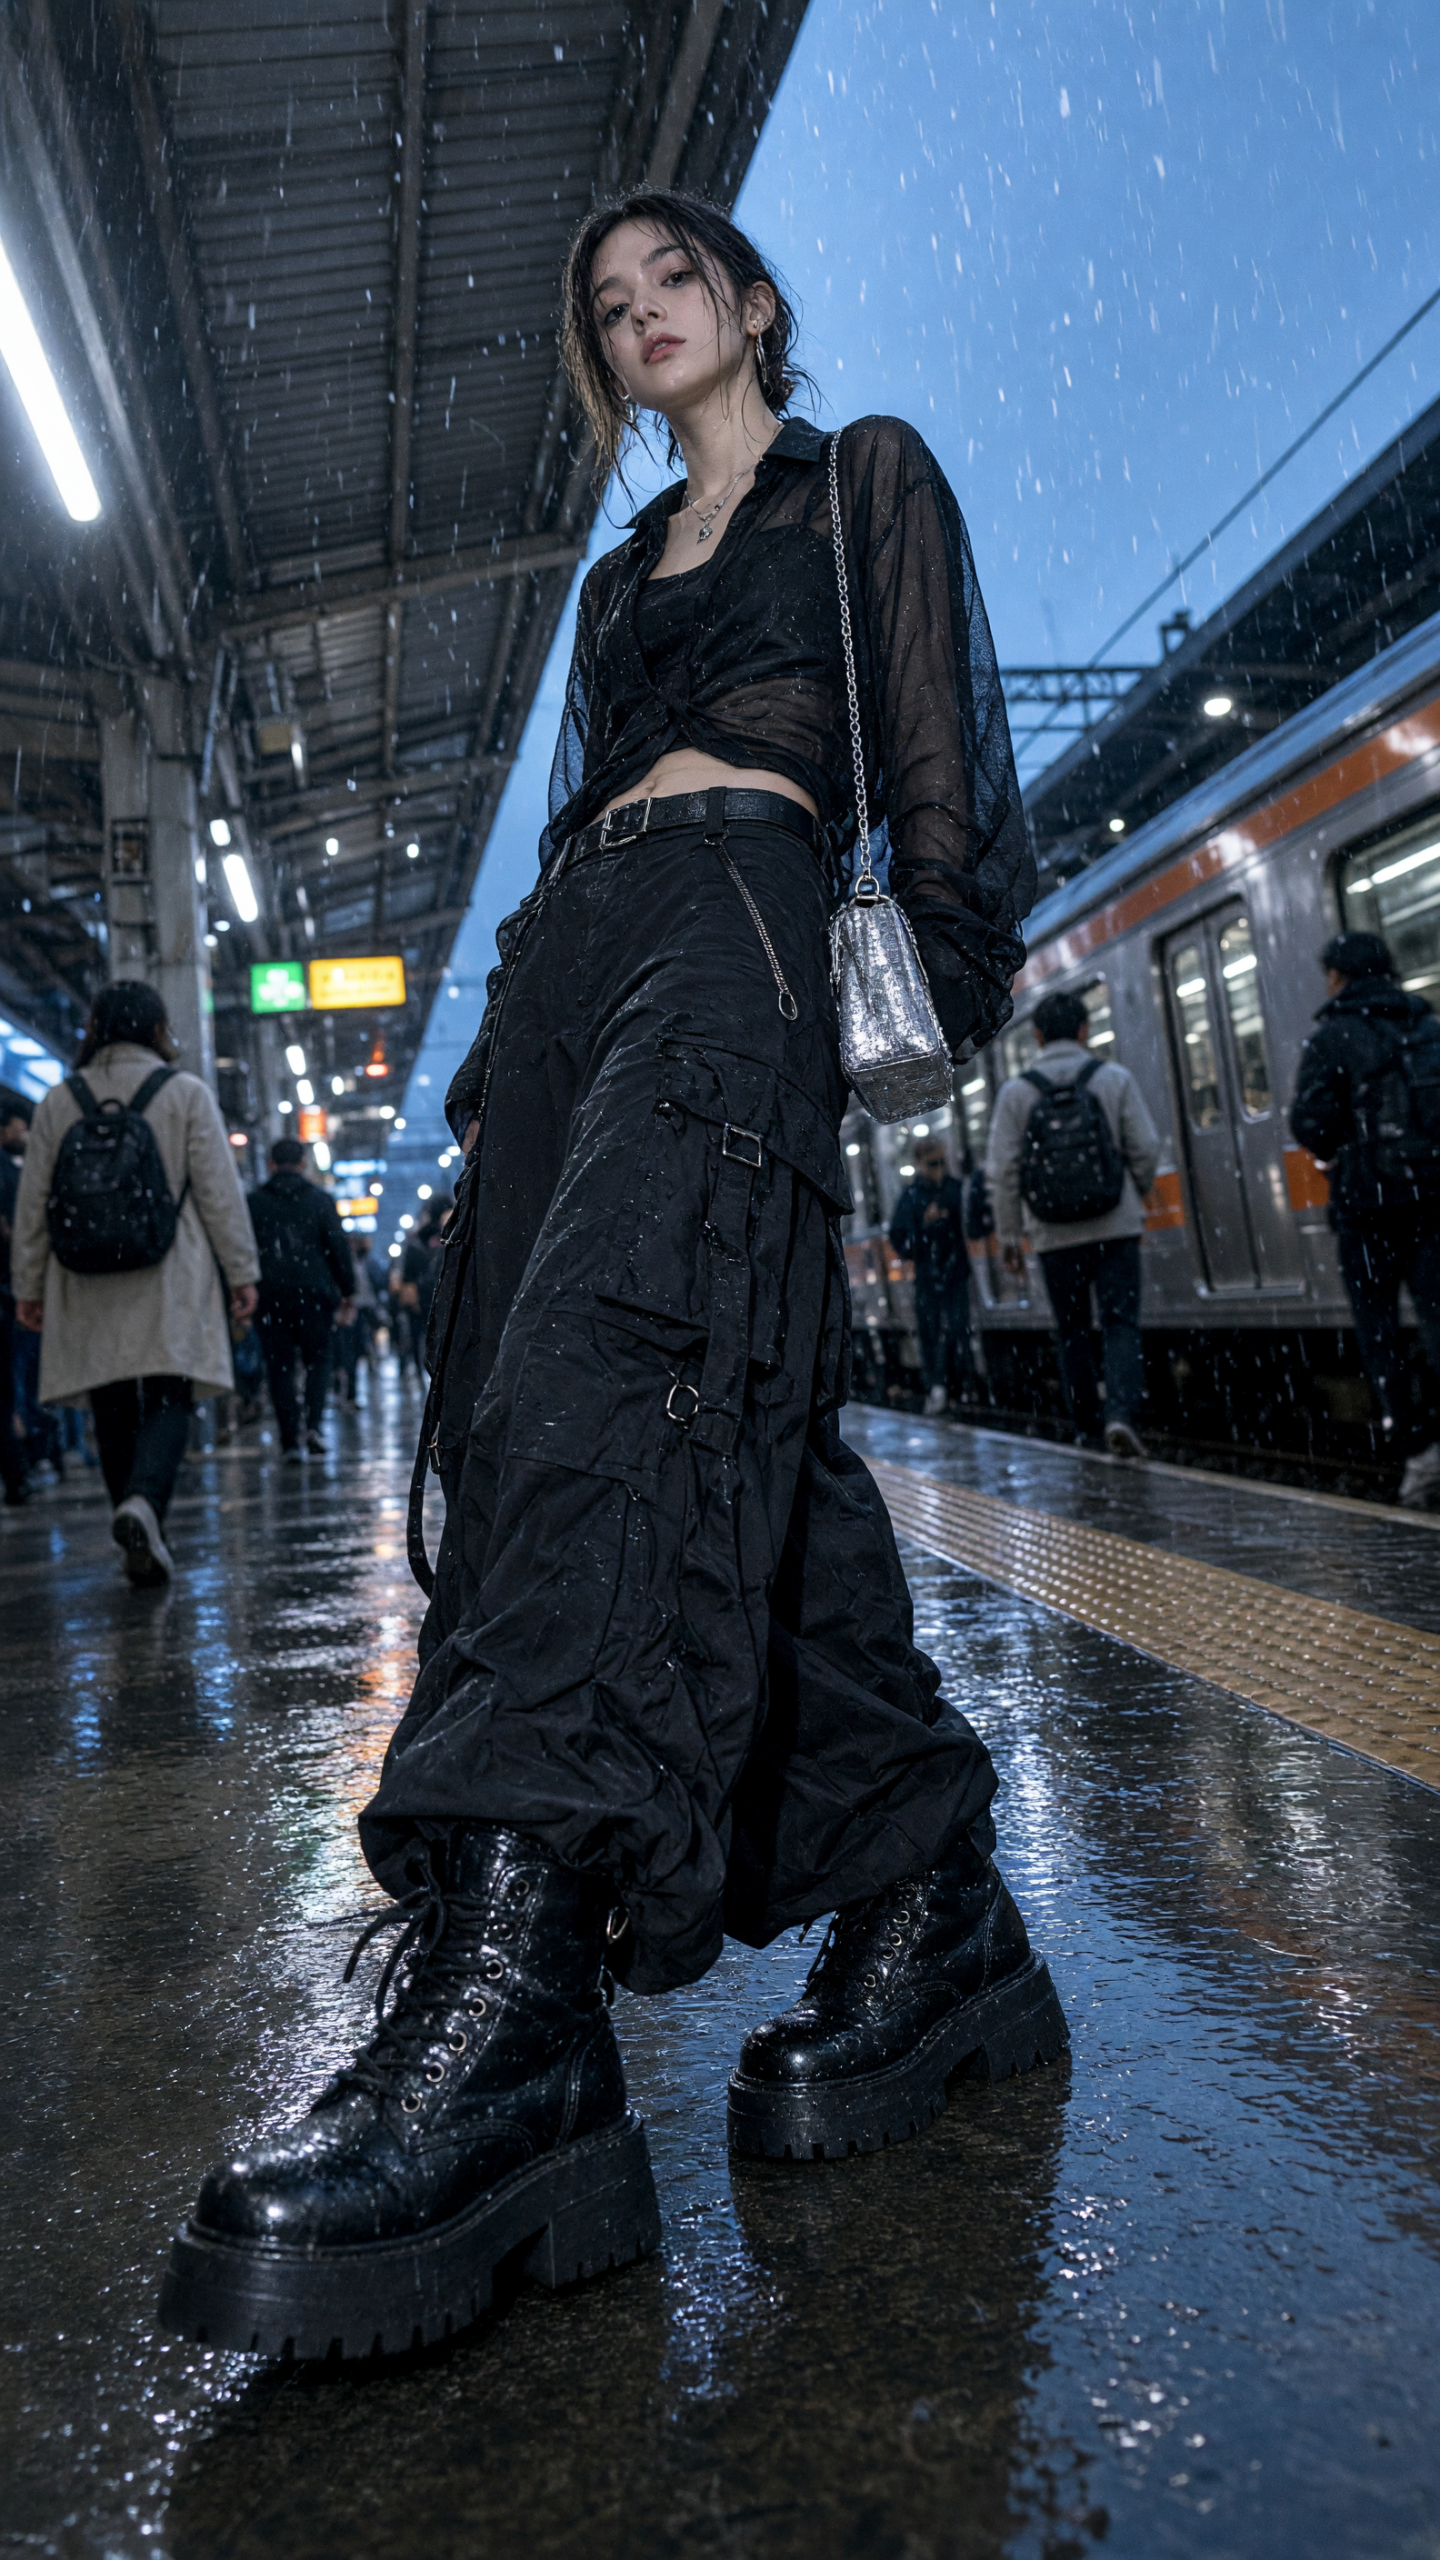
4 inverted camera effect outfit checks
How to get the inverted camera effect without losing the outfit
Start with one clear silhouette. A big jacket with slim bottoms, a fitted knit with a full skirt, or wide trousers with a close tee all work because the shape stays legible in a fast photo. Avoid piling on tiny prints. The front camera tends to flatten them.
Use direct flash in a dim hallway, outside at blue hour, or near a window after sunset. Stand close enough that the outfit fills most of the frame, then tip the phone a touch off level. That slight shift is enough. Heavy distortion looks like a filter; this effect works because it feels almost accidental.
Try two versions before posting: one full body and one cropped from shoulder to shoe. The full-body version checks proportions. The closer crop gives the fabric and accessories more presence. If you are comparing outfits before buying, test each option with the same angle. FashionKit makes that side-by-side decision much easier.
Keep these mistakes out of the frame
Do not smooth every detail after the shot. Skin texture, a flash hotspot, and a slightly crooked background belong here. Do not use a celebrity face or copy a specific creator either. Build the feeling from your own clothes and location.
One light source is enough. One bold color is enough. And one odd little moment, such as a hand mid-step or a rain-specked platform, makes the post worth stopping for. For more ways to test an outfit before you commit, browse FashionKit outfit ideas.
Adobe’s free online photo editor is a useful reference for keeping a flash-led outfit shot simple rather than over-filtered.
Get this look in FashionKit
Try the inverted camera effect on your own photos and compare outfits before you post – free to start.





2 Comments