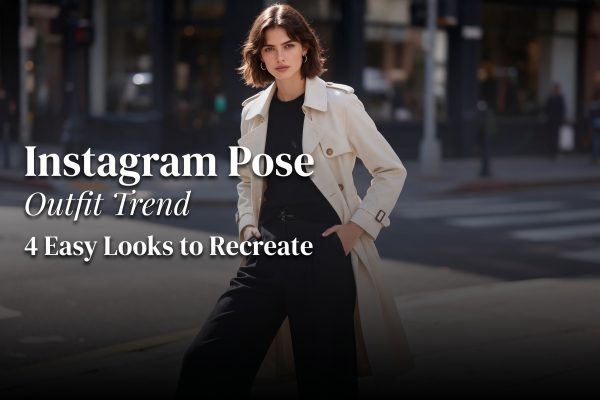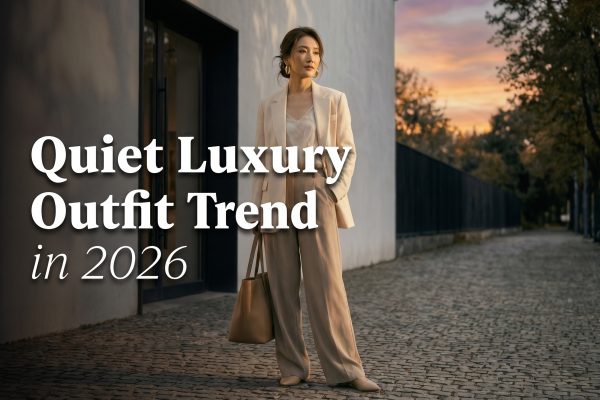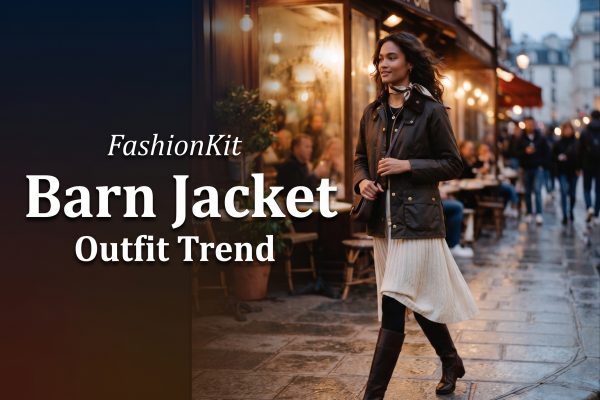
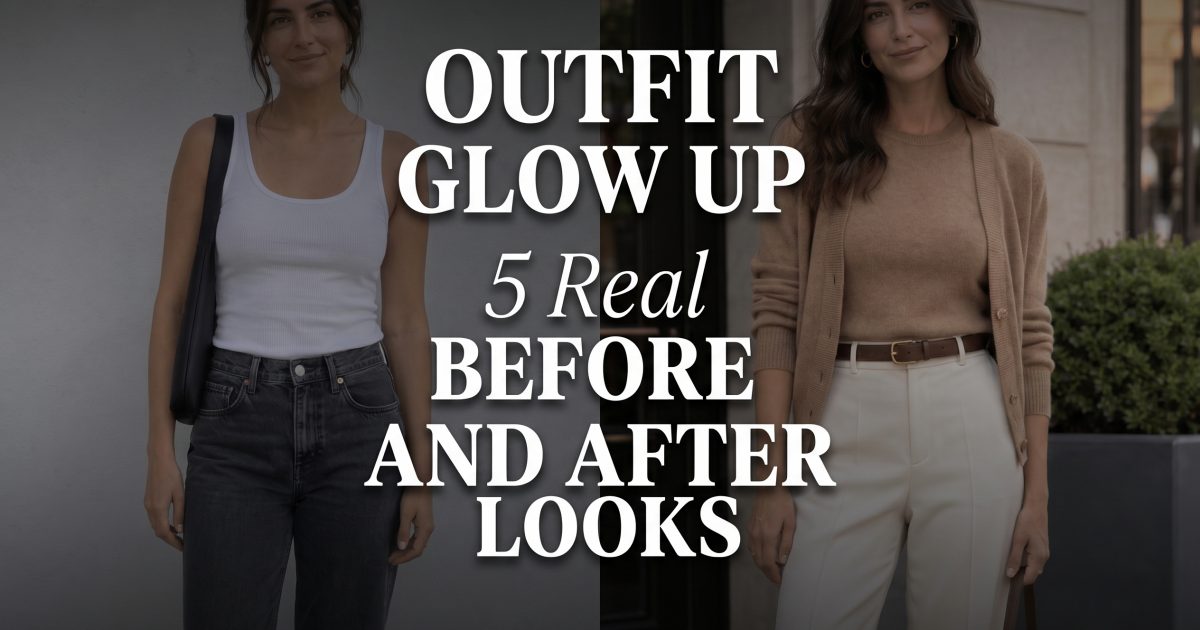
Outfit glow-up ideas work best when the change is easy to read. A plain base on the left. A sharper version on the right. That simple contrast says more than a full moodboard ever can. It shows what actually lifts the look: fit, shoes, layers, and a cleaner color story.
This set keeps the clothes real enough to wear. That matters. A strong outfit glow-up should still feel like a closet that exists on a weekday. Behind the scenes, the split-screen edits were built with Qwen Image Max Uncensored, and the same compare-two-directions logic works in a virtual outfit swap before anything gets bought.
In this guide:
- What an outfit glow-up changes
- Five before-and-after looks
- How to pick the stronger side
What an outfit glow-up actually changes
The best outfit glow-up does not try to change everything at once. It usually fixes one clear problem. The hemline sits better. The shoe feels lighter. The color story gets calmer. The jacket gives the body a cleaner line. That is why before-and-after images work so well for fashion planning. They expose the small edits that create the biggest visual jump.
Three things matter most. First, silhouette. Straight lines usually read cleaner than random volume. Second, texture. One richer fabric can make the whole look feel finished. Third, balance. If the top goes polished, the bottom should not fight it. The goal is a believable outfit glow-up, not a costume change.
| Before side | After side | Why it works |
|---|---|---|
| Loose basics | Cleaner layers | Shape looks more intentional |
| Flat shoes | Pointed or structured shoes | The leg line looks longer |
| Busy background | Calmer framing | The outfit becomes the focus |
5 before-and-after looks worth copying
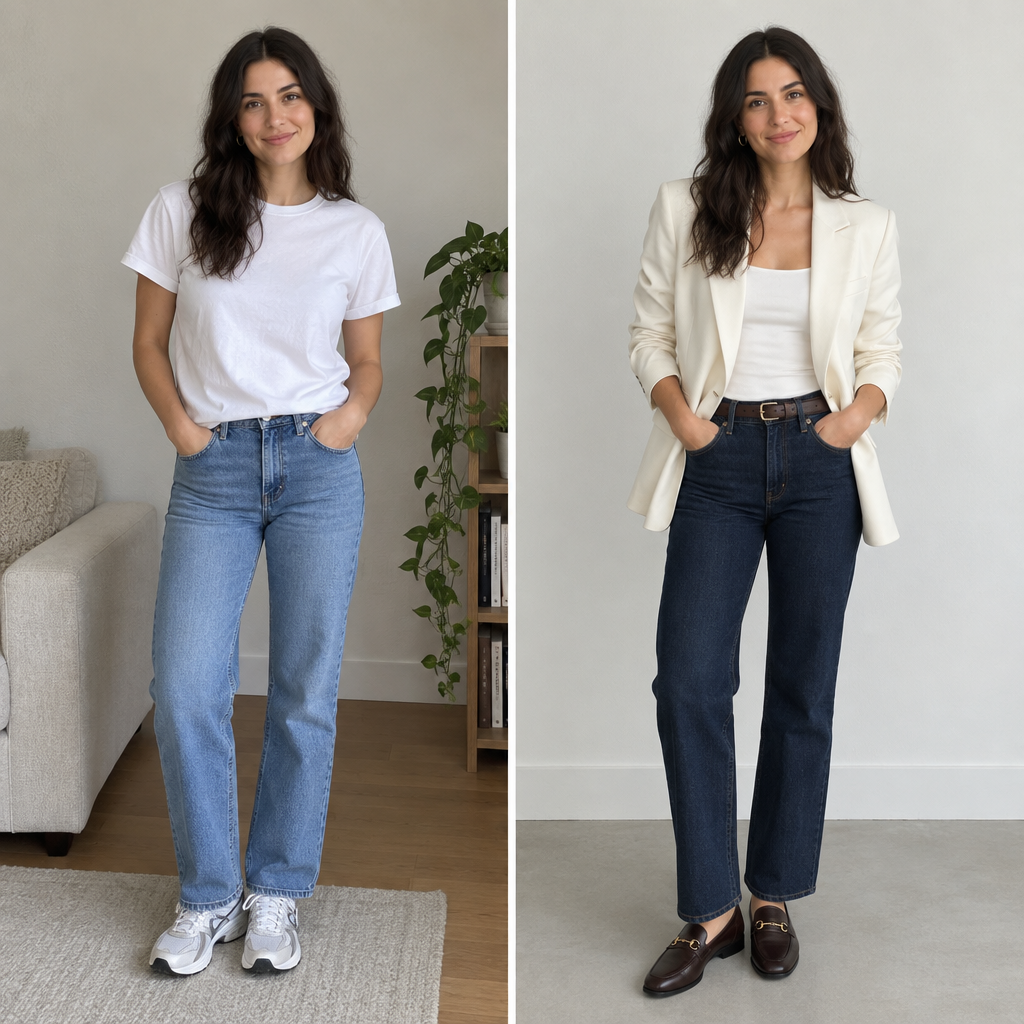
Look 1 keeps the base simple, then adds one polished layer. That is the easiest outfit glow-up for everyday wear. The blazer does most of the work. Darker denim and loafers finish the shift without making the outfit feel stiff.
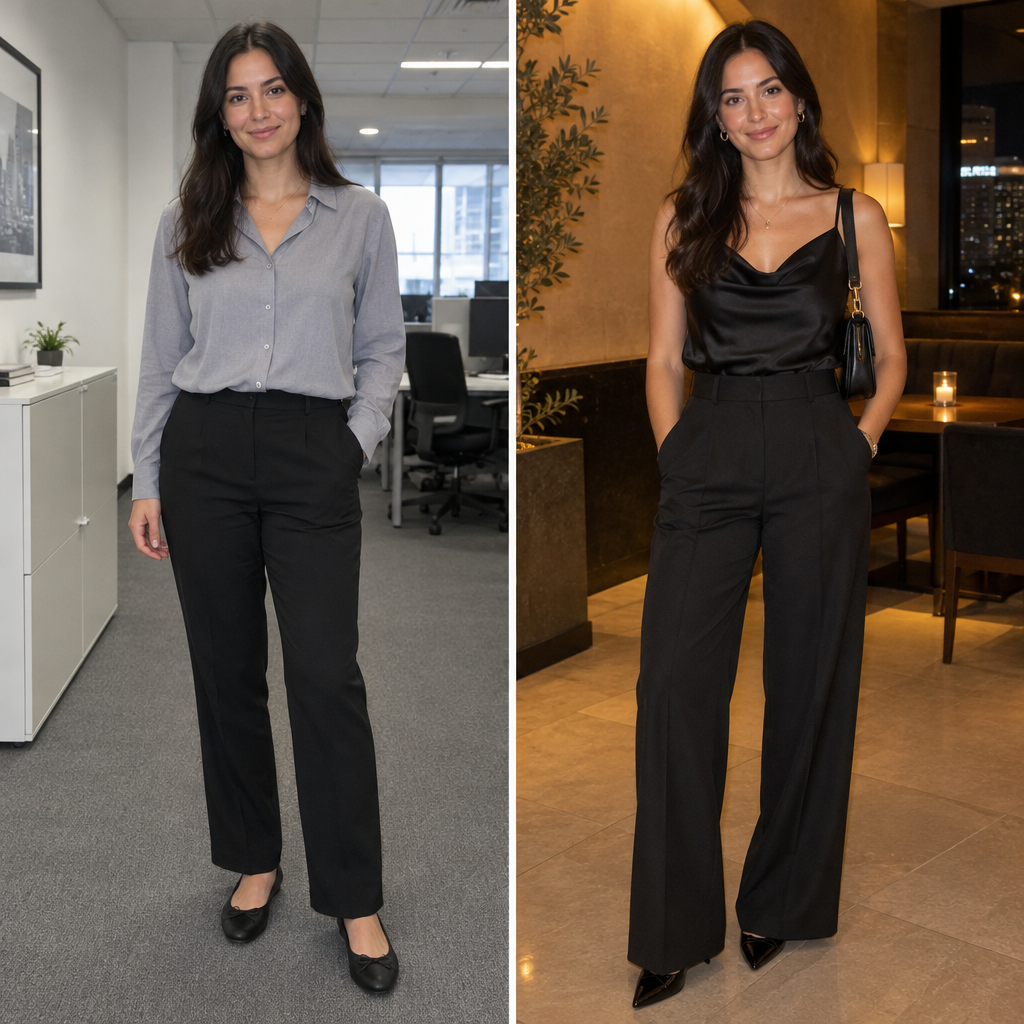
Look 2 turns office clothes into something that can leave work and still feel good at dinner. The top gets softer and richer. The trouser shape opens up. The result is still neat, but it now has a little movement and a little mood.
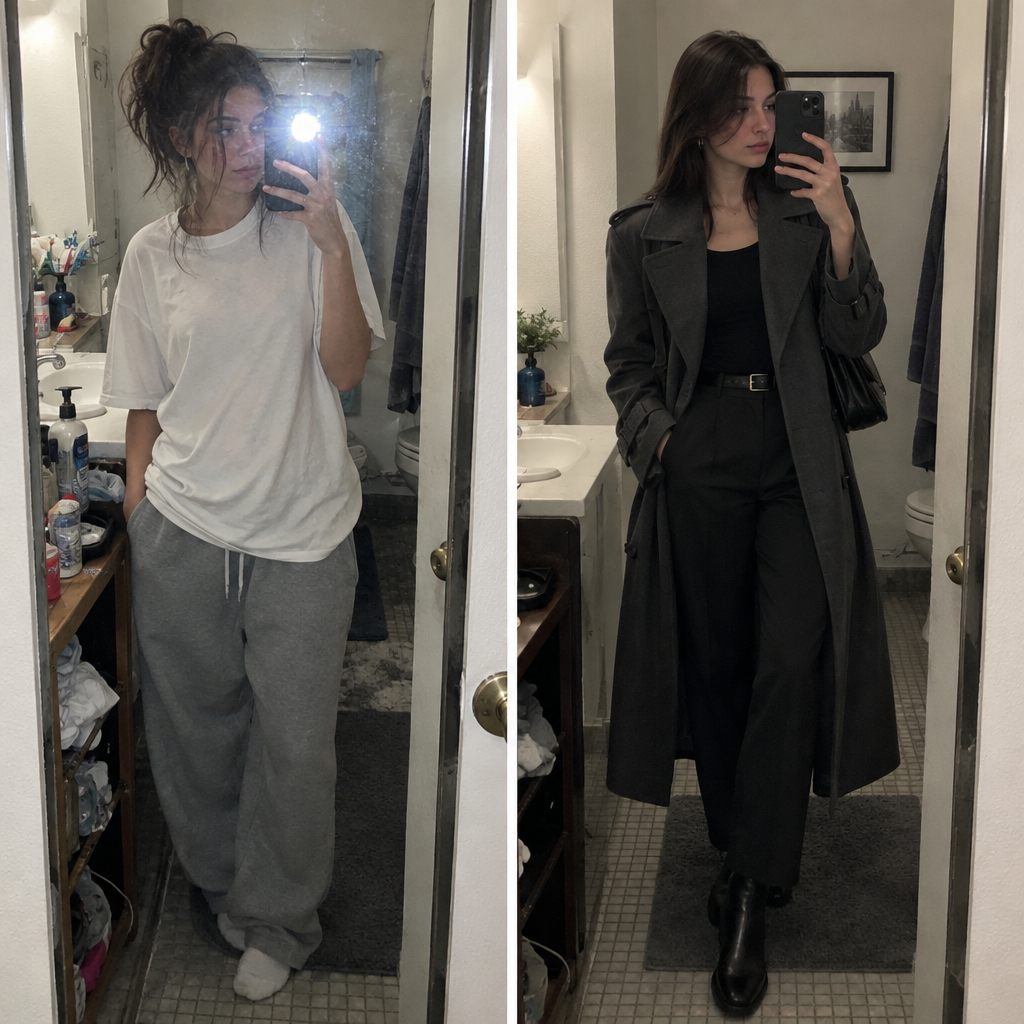
Look 3 is the most casual of the set. It proves that an outfit glow-up does not need heels to work. A stronger coat, better pant shape, and one structured bag are enough to turn an errand outfit into street style.
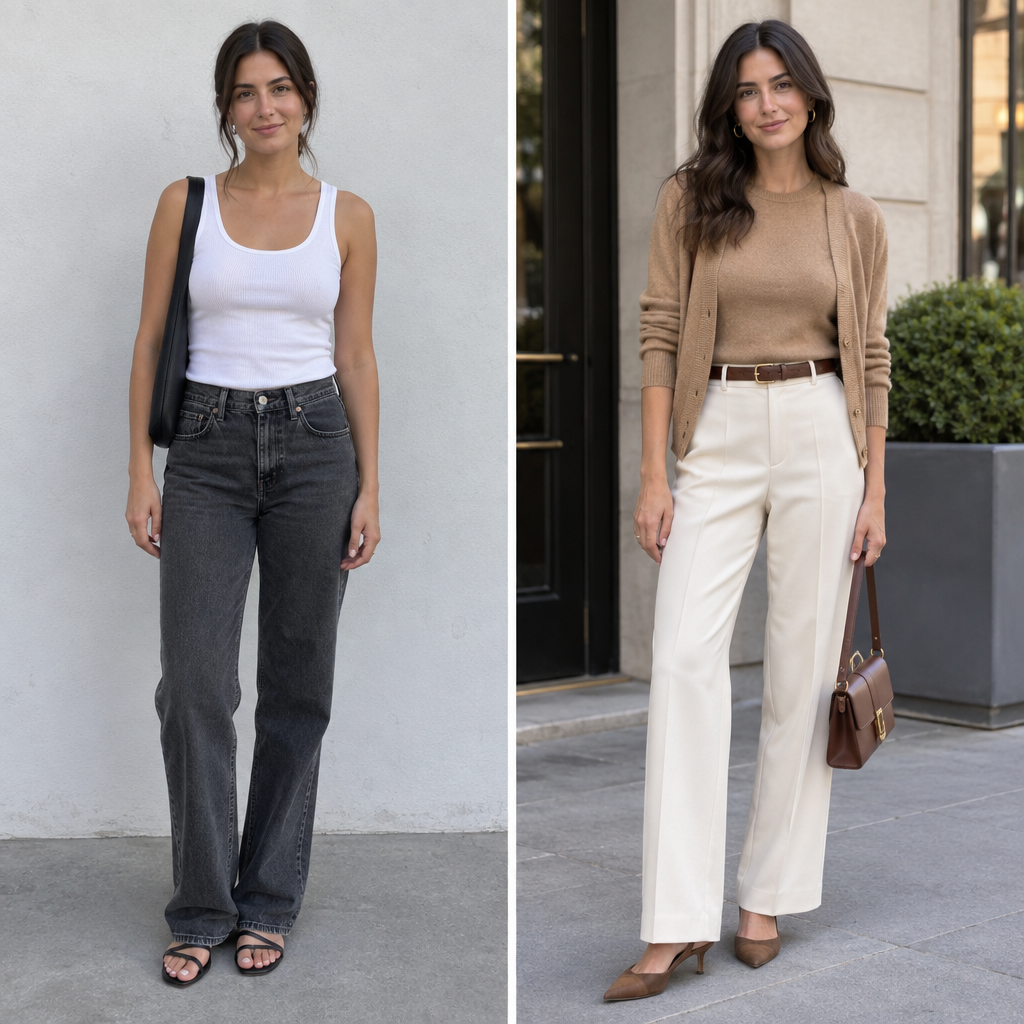
Look 4 is the strongest cover choice because the contrast stays clear while the right side feels expensive without shouting. It is the easiest version to copy if the goal is quiet luxury. The color palette does most of the work, then the belt and shoes lock it in.
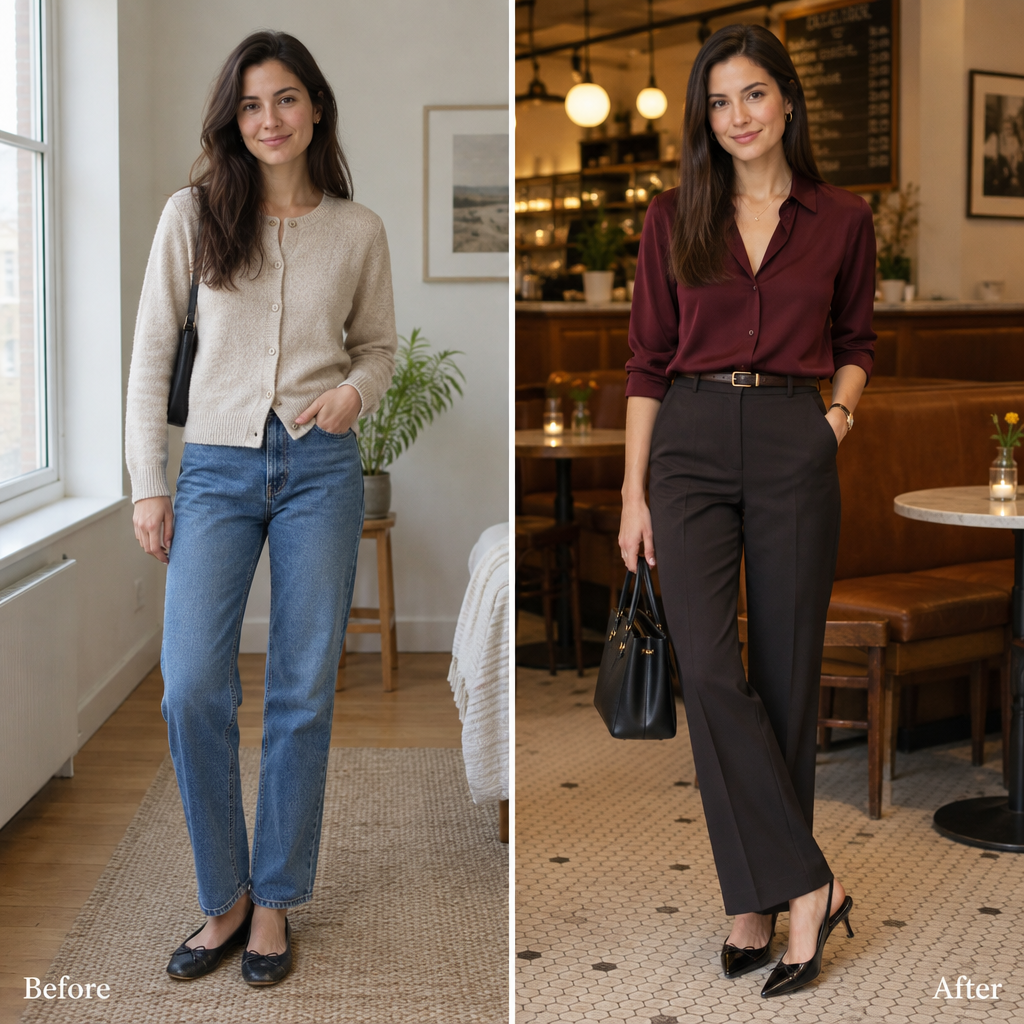
Look 5 is the most date-night friendly. It keeps the base relaxed, then adds color and structure. That makes the outfit glow-up feel natural rather than overworked. Burgundy also gives the final frame more depth than a standard neutral palette.
How to pick the stronger side
If the before side already looks good, the after side needs a real reason to exist. Check the shoulder line first. Then the hem. Then the shoe. If those three areas improve, the glow-up works. If only the makeup changes, the outfit probably does not need the upgrade.
- Choose the side that looks easier to wear again.
- Choose the side with the cleaner silhouette.
- Choose the side that makes the face and outfit feel balanced.
- Choose the side that would still work in real life, not just on a screen.
The strongest outfit glow-up is the one that makes the clothes look more certain. Not louder. Not fancier. Just more finished.
For the image-editing side of this set, the model page for Qwen Image Max Uncensored shows the edit and style-transfer features used to build these before-and-after frames.
Get this look in FashionKit
Try these effects on your own photos — free to start.